Sunday, November 3, 2013

Tattered Poinsettia

I have a few "poinsettia" dies.....
I didn't think I needed the TH Alterations Tattered Poinsettia die....
I soon found out how wrong I was and I had to get it after seeing it
on several other blogs and Pinterest.
I think what really the "selling point" to me was, is when he came out
with the embossing folder for it...Wowza!!
It is beautiful, I wish you could see all the texture on this, it is gorgeous!!
 
 
I cut two of each layer and "painted" on gold Stickles after running it thru the
embossing process!!
 
At Joan's Gardens this week her challenge is
use a product sold at Joan Gardens
use white and gold
use an embossing folder
use pearls
 
At Really Reasonable Ribbon the challenge is Christmas/Winter and Holiday
and to use ribbon, lace, or trim somewhere on your project
 
At Scrapping 4 Fun the challenge is Christmas/Holiday

and Simon Says Wednesday Challenge "Anything Goes"
 
The background of my card is the additional embossing folder that comes with
the TH poinsettia one, it is the exact tattered poinsettias, only little!!
My Holly Flourish is cut in gold metallic paper and is a Cheery Lynn Designs die
The white branch is from Impression Obsession
I used gold pearls for the center of my flower and also for my "berries"
I added gold metallic stretchy cord trim and tied a crystal on the bow.
 
I can't wait to make more of these poinsettias in other colors!!

Friday, November 1, 2013

Happy Times

Boy doggie is it raining here this morning!!
Poor trick or treaters!!
Oh course when this posts on Nov 1, it might be sunny, (nope it's not)
I am a little bit ahead of the game...lol!
 
I saw this challenge sketch at "Seize the Sketch"
and saw that Mona Pendleton was their guest this week...
 
 
I have to admit, I am not very good at sketches...
my brain just shuts down, but something clicked right away....
yeah brain!!
 
 
I have this newer set designed by Mona Pendleton herself for My favorite Things...
and I LOVE the dies...I LOVE the stamps...
so pretty together, I could sit and stamp and cut these all day!!
 
Do you see the woven strip??
Can you guess what it is??
It's drywall tape...you can get it at any home improvement store...
how is that for texture??
Wouldn't it be great for all those mixed media pieces.....
 
I had fun with this challenge.....give it a try!!

Thursday, October 31, 2013

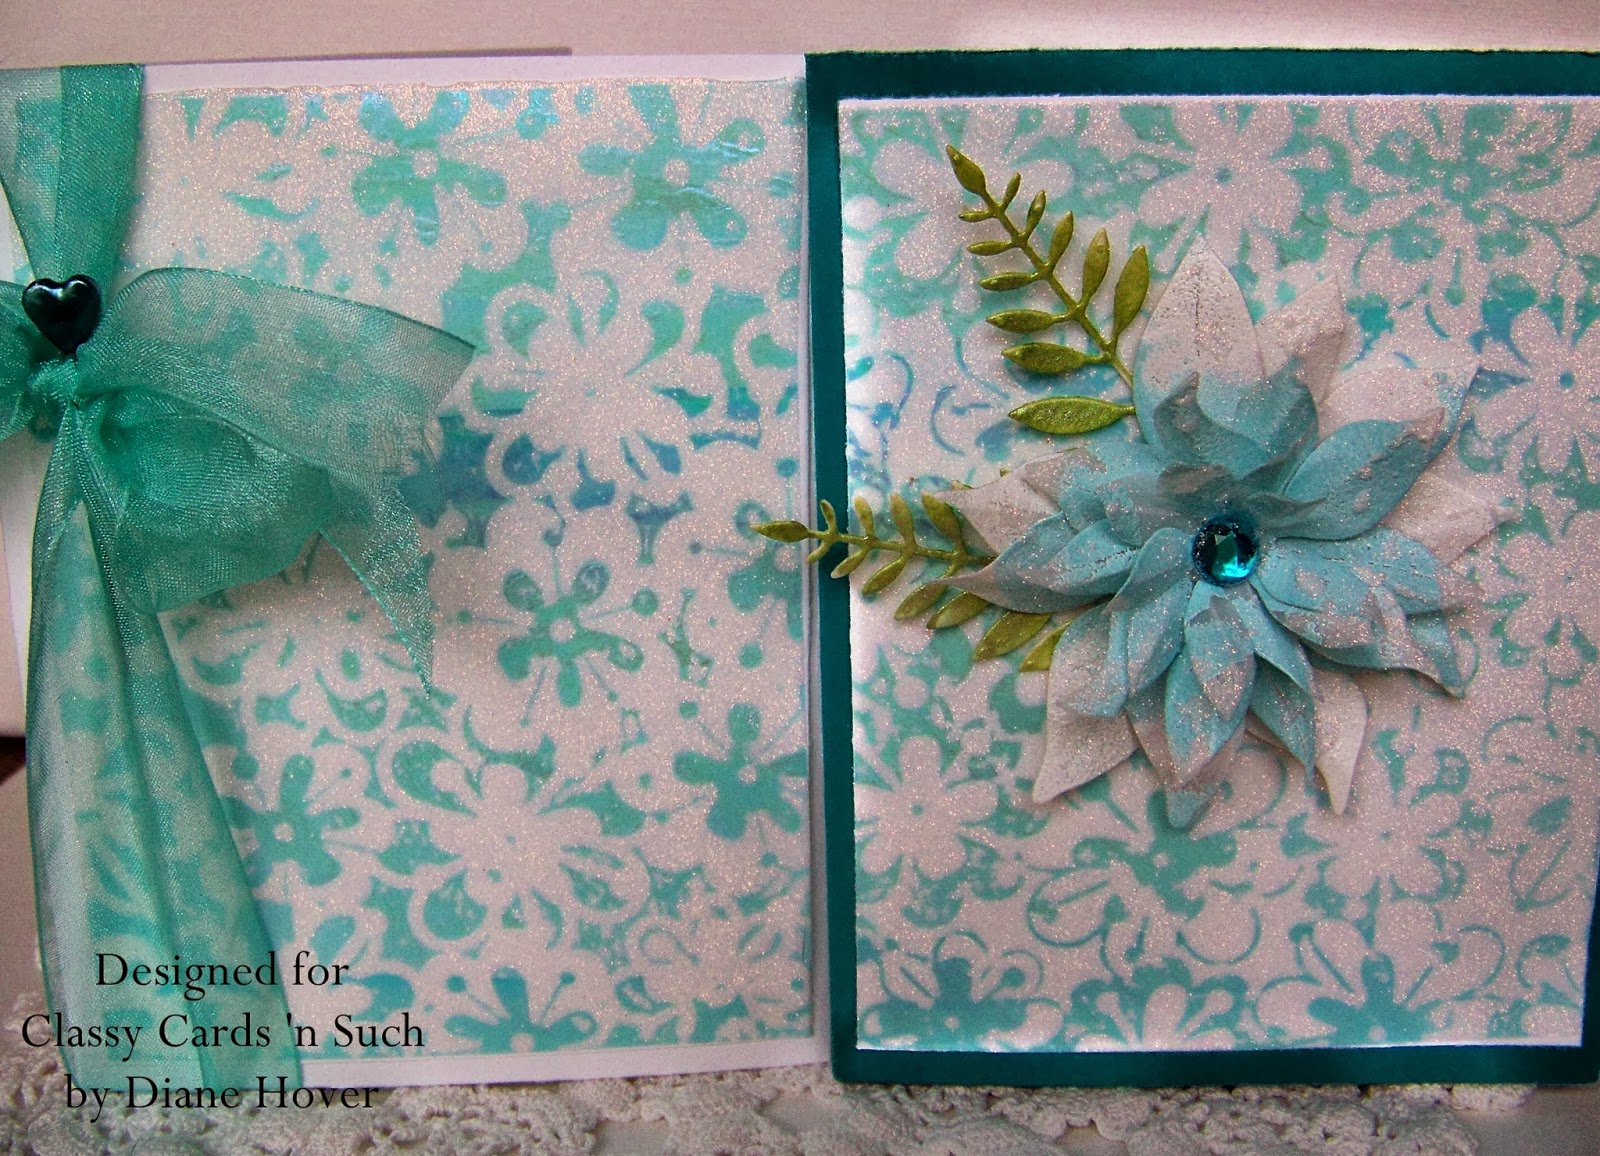
Amazing Shimmer Sheetz

I just wanted t share with you the post I have up
at the Classy Cards 'n Such blog today!

Hi, Diane here with you today.
While spending some time last weekend with some wonderful friends
I learned about a "new to me" product called "Shimmer Sheetz"
 
 
What you can do with one sheet of it is amazing.
I am here today to share a bit of what I have learned.
To make things easier, I will list the products I have used at the end of the post.
 
By cutting one piece of Shimmer Sheetz approx. 4 x 5 1/4 to fit your A2 card front,
and a piece of  Scor-tape sheet (double sided adhesive) the same size , you will
get 4 different uses from your one piece of Shimmer Sheetz.  You will need to cut 2 sets of these.
Apply one side of your Scor-Tape sheet to your card front.
 
The first step is to run your Shimmer Sheetz piece through your embossing machine,
using an embossing folder that has an all over pattern. Then you stick it to your adhesive sheet
that is already applied to your cardstock, and run a brayer across it several times, pressing down as you go.
Carefully, lift your Shimmer Sheetz off and set it aside with the unused side up (for now).
 
Now you might not think it looks like much at this point, but the next step changes all that.
Take a micro fine  glitter and cover the entire piece, shake the excess off onto paper (to return to your container), and burnish the glitter with your finger (yes you will be wearing glitter, but not to worry, it looks good on you).  You will see the result below....stunning, isn't it??
 
 
  But wait, we have more to do.  Apply your second set of Scor-tape to your cardstock, FLIP your Shimmer Sheetz over to the side you didn't use and once again brayer it to the Scor-tape sheet.  Repeat the step for the glitter, and you will have the negative of the embossing folder.  I have shown both below to show the contrast and left the second card bare so you can see the difference.
 
 
But wait, there is more.....next take the Shimmer Sheetz and lightly sand it...look at the result!
Now you can stop right at this step and use it as is, or take it to the next step like I did, by rubbing your Staz-On ink pad across the entire piece for the look I have shown below!


Now, I think you need to give this technique a try, you will love the results.  I will be back on another
post with yet another use for the Shimmer Sheetz....check back, or better yet, subscribe to the blog, so you won't miss a thing!!
 
Products used:
PoppyStamps (flower) Blooming Poinsettia die
PoppyStamps Gentle Leaf Die
White Embossing Powder (used on the flower)

Wednesday, October 30, 2013

Witches and Goblins

This week the challenge theme at The Kraft Journal is Witches and Goblins.
and
the theme "Halloween" at Little Red Wagon
I have to admit, I was done making Halloween cards....
but when I saw the theme, I had to join in as I had purchased a cute little $1
stamp from the dollar bin at a local craft store.
 
 
I used a "Kraft" card base to start with and covered it with a fun
Halloween paper from Webster's....I stitched it on with a zigzag stitch...
I made a cute little tag and stamped my image on that....
I know it doesn't show, but I "hit" the image here and there with a black glitter pen.
The kitty is a leftover from a card I did a few days ago, cut with an IO die...
the bats were made with a punch and I stamped a spider web on each,
they too were made with "Kraft" paper.

Monday, October 28, 2013

Don't Be Afraid

Sorry I have been unavailable for awhile....
I took a quick and unexpected trip... 
and just got home last night!!
 
I had a few challenges I was hoping to do before they ended....
One was using the Sketch from

CAS on Sunday
 
 
One was the cute inspiration one at Papercraft Star using the image below....


I had so many ideas for this one, but not nearly enough time....
So I came up with this card....
 
 
I used the negative of a circle and sponged  my moon with TH Distress inks...
The broom is from Graphic 45, it has been slightly "popped" up and I added
 a bit of Halloween twine (can you see it...lol) to make it look like a real broom...
The kitties were cut with Impression Obession dies from a thin glitter paper....
The sentiment is from one of the $1 bin stamps you see around...
that's it...simple but I like it!!!

Thursday, October 24, 2013

Autumn Window

Just wanted to share with you today my post up
at the Classy Cards 'n Such blog today.
 
Hello, Diane here with you today.
I have been seeing all over online where Fall seems to be the favorite time of the year....
That sure rings true with me, too...
Which brings us to today's card at Classy Cards 'n Such...
 

To create my card I first stamped an Impression Obsession Distressed Brick
background stamp (which Beverly can get for you) with TH Distress Ink "Old Linen"

The window (see the bit of lace curtain...love it)
 was cut with Poppy Stamps die Small Madison Window
the shutters are Poppy Stamps die Small Madison Shutters
and the window box with Poppy Stamps die Small Madison Flower Box
Isn't this the cutest window??  And the possibilities are endless!!

Inside my flower box I have added my greens using Cheery Lynn Designs "Wreath Strip"
and from the newest release by Cheery Lynn Dies "Tiny Flower Kit".
This new flower kit is a must have...it has 3 different strips of tiny flowers
that are just perfect for when you need to fill in with a small flower  or
just on their own.  I made my "Mums" in the flower box with these newest dies.

To finish off my card I added the cat from the Cheery Lynn Designs die
"Screen Door With Cat" and pumpkins
 from the Cheery Lynn Designs die "Pumpkins", set of 2.

 I hope you have enjoyed my post today, and don't forget to sign up for the
Classy Cards 'n Such newsletter.  It always has the latest (newest) items in the store listed
plus a special discount for it's subscribers...you don't want to miss out!!

Wednesday, October 23, 2013

~~~***~~~***~~~Trick or Treaters~~~***~~~***~~~

I have a second post today to share.....
 
 
I "whipped" these little spool "Trick or Treaters" up this morning ....
at Papercrafters Corner.....
I went with the Halloween theme for my entry...
and also wanted to link it to the
challenge at Color-Q
who could resist this sweet inspiration piece??
 
 
and also to the challenge at The Ribbon Carousel  #86 Fall or Halloween
 

They were made on some old wooden spools I had.....
 
 
I wrapped paper around each and punched circles for the top and bottom....
I colored the edges with SU markers (somewhat faster then painting them).....
I used Halloween chenille stems and glued the Brenda Walton chipboard images
to them with my glue gun...added some ruffled tissue paper trim
I purchased from Ebay a long while back
and love how glittery and sparkley they are!!
 
 
and I had 3 little spoolie trick or treaters in no time....