This is post today at Classy Cards 'n Such
Hello,
Diane here with you today and I thought I would share with you a very
fun technique and small tutorial on coloring on vellum.
If you are intimidated by coloring or think you can't color,
this is a perfect technique for you to try. Even if you are good at coloring,
still give it a try as it is so much fun and very rewarding!
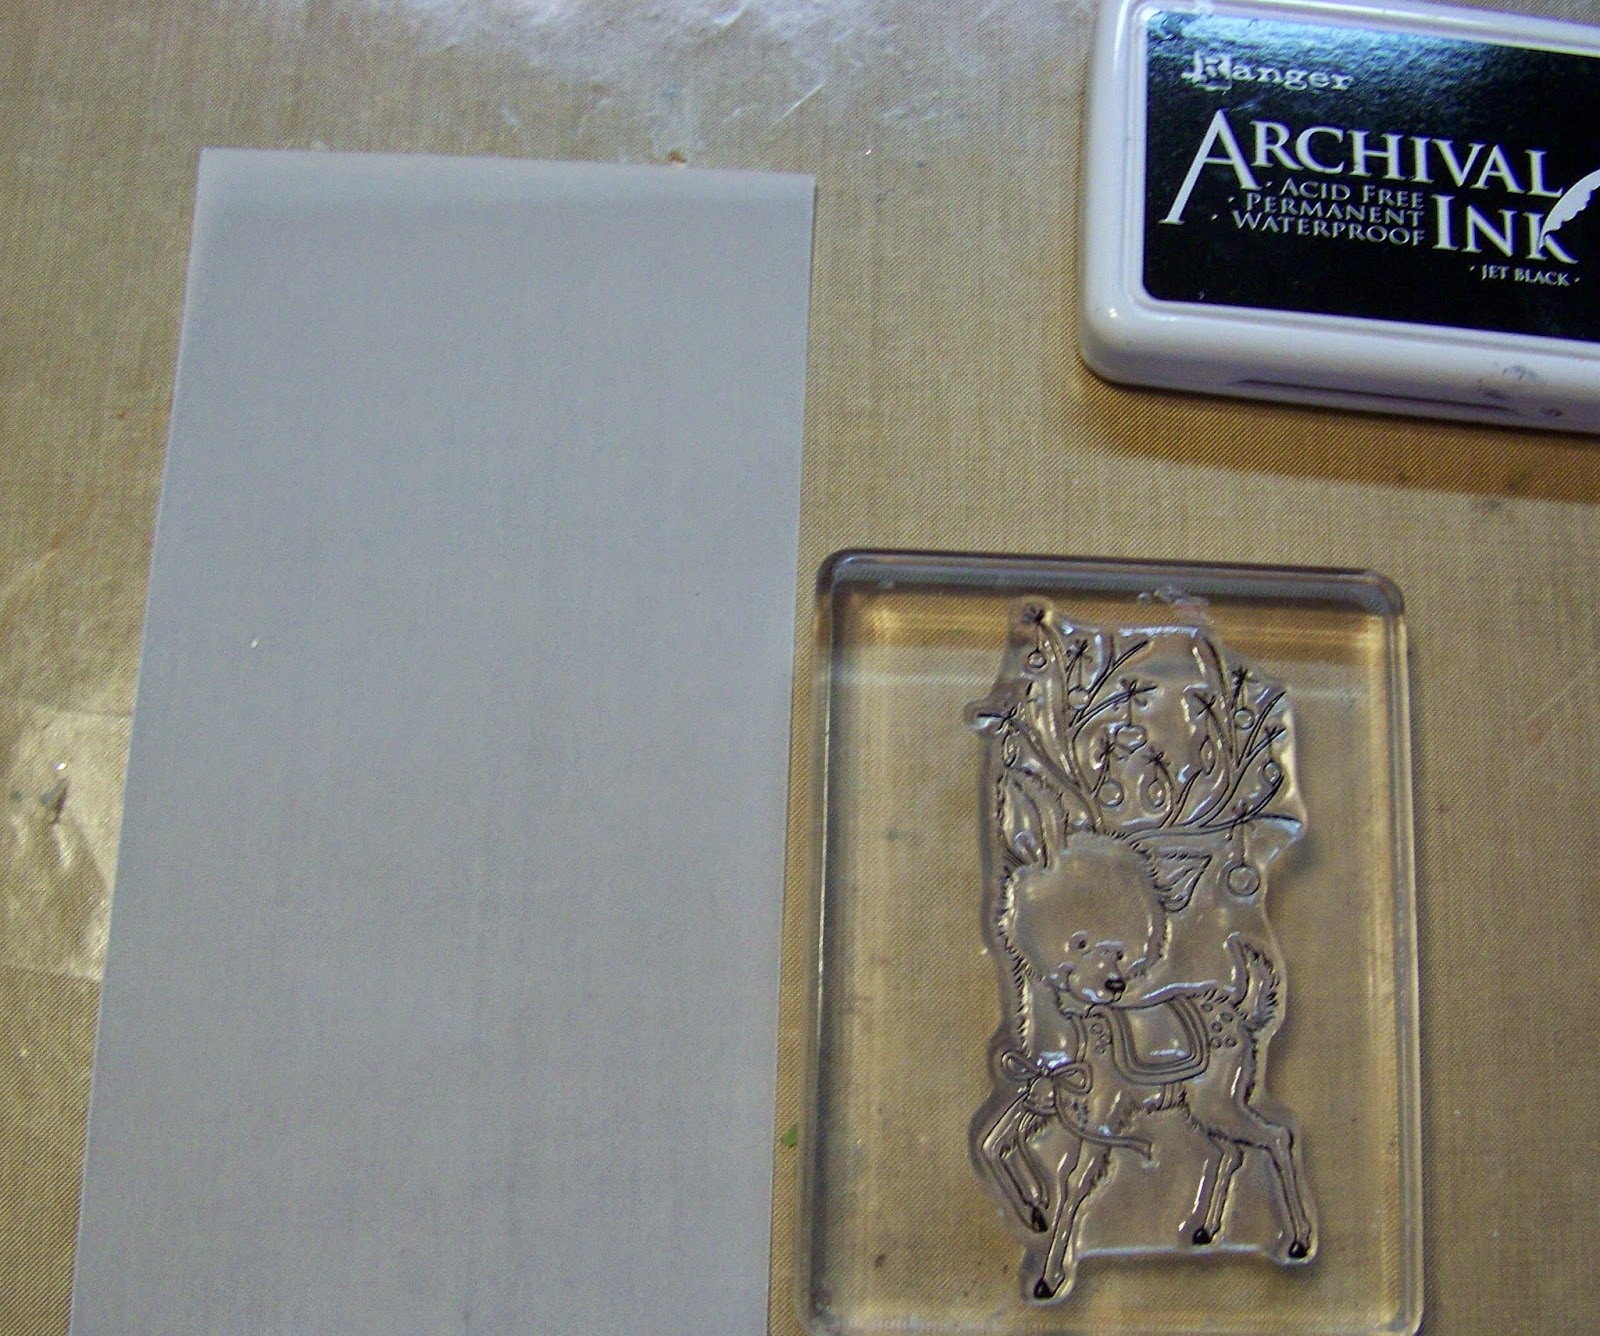
First you will need to gather up some very basic supplies.
Vellum, any weight works, I have used both the heavier (which is what I am using today)
and the lighter weight.
Ranger Archival Black Ink (this one won't smear on the vellum once it is heat set)
Heat Gun
Permanent Markers (alcohol markers will smear)
A hint before starting, if you want your image to be on a label/die cut like mine is,
you would want to die cut your shape first, THEN stamp your image, to
eliminate any smearing of colors.
Stamp your image, I am using Wild Rose Studio Reindeer With Baubles
Cover with clear embossing powder.
Pour off excess and heat set with your heat gun.
Here is a photo of before heat setting
and a photo of after heat setting. Can you see the nice "raised edge"?
Flip your image over and begin coloring on the BACKSIDE of your vellum.
If you color a little bit at a time you can blend the colors quickly before they dry.
Once satisfied with your coloring, let dry a bit.
Doesn't look so great at this point does it?
But just wait and you will amazed at how pretty it is!!
Flip it back over, in this image I added a few "details" on the front side,
such as the white for the spots, gold glitter pen for the bell, and
Gelly Roll Stardust Clear Pen for the ornament hangers.
Now doesn't it just look wonderful
I finished off my card with papers from BoBunny Candy Cane Lane Collection.
I added a few trees cut with Impression Obsession Fir Trees.
The vellum piece was adhered down in only two places
with very, very tiny pieces of Scor-Tape 1/8".
I hope this tutorial inspires you to give this technique a try!
Entering the following challenges:
Fantasy Stampers .... Cute Christmas (Stamp used is WRS Reindeer With Baubles)
and
Send A Smile For Kids .... Anything Goes
and
Completely Christmas .... Anything Goes /Twist/ beginning with an "S" (STAR)
and
Fairy Tale Challenge .... Christmas With An Animal
Entering the following challenges:
Fantasy Stampers .... Cute Christmas (Stamp used is WRS Reindeer With Baubles)
and
Send A Smile For Kids .... Anything Goes
and
Completely Christmas .... Anything Goes /Twist/ beginning with an "S" (STAR)
and
Fairy Tale Challenge .... Christmas With An Animal


11 comments:
This is so gorgeous, Diane!! What a fabulous technique and tutorial!! I love how it looks!! The colors are so vibrant!! The details you added are perfect!! Awesome card my friend!! Hope you are feeling better!! Have a great day :)
Lisa
A Mermaid's Crafts
This is so cute, I love the stamp! Great card design!
This is gorgeous Diane. Loved the tutorial and the finished result is fabulous. Love he image,
Enjoy the rest of your weekend.
Hugs Sharon. X
Look at you with your awesome stamping and coloring! Wow! Super cute stamp and love those die cut trees. This turned out just fabulous and I'm really hoping I've got some vellum 'cause you've got me all inspired. This is some of the best vellum coloring I've seen!
This is so lovely!
Susi
from
FROEBELSTERNCHEN
ART-JOURNAL-JOURNEY-CHALLENGE
MOO-MANIA & MORE -CHALLENGE
OH WOW Diane...I can hardly wait to try this!!! FABULOUS work and AMAZING tutorial...thanks for the tips!!
Take care,
Beth
This is absolutely gorgeous!!
WOW! This is sooooooooooo pretty, Diane :-D I like your card a lot! Thanks for the tutorial :-D
Thank you so much for joining us at Fairy Tale Challenge Blog this fortnight :-D Milka GD
You have made such a lovely card! It´s realy very christmas like. Thank you for joining us at Fairy Tale Challenge. Bianca XX
Beautiful colouring on the vellum, Diane - thanx for sharing with us at Fantasy Stampers.
Hugz, Jan (DT) xx
A beaautiful card and thanks for the detailed tutorial. Thanks for joining us at Fantasy Challenges. Happy Christmas. Caz
Post a Comment